Ten steps to safe truss installation

Ten steps to safe truss installation
Weatherproofing a new build home is
essential as winter sets in, and applying good practice when it comes to
working with trussed rafters will help make the process run smoothly.
Housebuilders can also keep safe through
this process by accessing health and safety information
and safe ways of working provided by the Trussed Rafter Association (TRA) and
its members.

Here are ten tips to safely install a
simple domestic roof.
Step 1
Make sure wall plates are level and secured
to load bearing walls. Mark the position of the trusses on both wall plates.
Step 2
Mechanically (this is the preferred
method) or manually lift the first truss onto the roof in the vertical plane.
Install the first truss so that it coincides with the position of the end of
the rafter diagonal bracing when fitted. Checking the temporary works plan,
brace the first truss to both wall plates using the correct size of bracing and
fixings.

Step 3
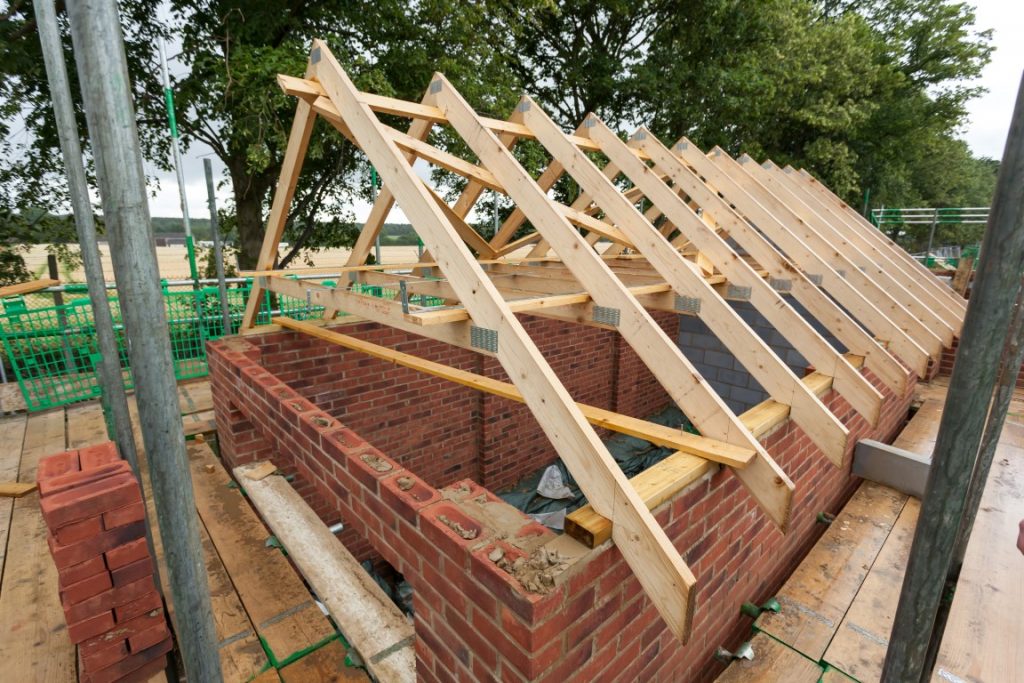
Install the second truss ensuring its
production face matches the first truss by checking the labels or markings on
the truss. Brace back to the first truss with temporary horizontal bracing
along the rafters and ceiling tie members. Make sure both trusses are vertical.
Step 4
Install the third truss towards the
gable end in the correct orientation by checking the details described in step
3. Check it is vertical and fix it to the temporary bracing along the
rafters and ceiling ties to create a stable unit. Install further trusses with
temporary bracing back to this stable unit.
Step 5
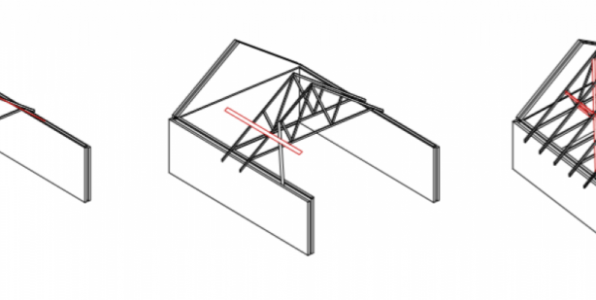
Fix the permanent diagonal braces to the
inner face of the rafters at 45 degrees. This will be nailed to the wall plate
at the lower end and then fixed as high up on the first truss as possible but
leaving space for the apex brace. All permanent braces should be a minimum 22 x
97mm timber, dry and defect free. Each truss should be fixed with 2 no. 3.1mm x
65mm long mechanically driven gun nails or 3.35mm dia. x 75mm long galvanised
nails. Bracing may be jointed provided it spans at least two trussed rafters.
Step 6
Fix all remaining longitudinal bracing
to rafters, struts and ceiling ties. Remember all bracing is repeated on both
sides of the roof.
Step 7
The temporary bracing can now be removed
allowing any outstanding trusses to be installed using the completed section of
the roof as a means to temporarily brace them.
Step 8
At this stage all remaining
longitudinal, diagonal and chevron bracing specified should be fixed, along
with the metal restraining straps, to the gable end. If using ‘top hat’
trusses, the upper section can now be connected.
Step 9
Once installed but before felting and
battening the roof, double check that all trusses are aligned vertically and
are restrained from bowing out of the vertical plane.
Step 10
If access to high level bracing or ‘top
hat’ trusses is required, this must be considered during the site-specific risk
assessment. Access can be safely achieved using proprietary equipment such as
‘DTE Safe Step’ or ‘STA access system.’ Or additional timber members can be
incorporated within the design to form a support for a temporary access
platform. This needs to be requested during the design stage.
Finally, trusses should never be cut or
adjusted in any way. Change should only be made with the prior knowledge and
consent of the trussed rafter designer.
For further advice on trusses and their
applications please visit www.tra.org.
Comments are closed